
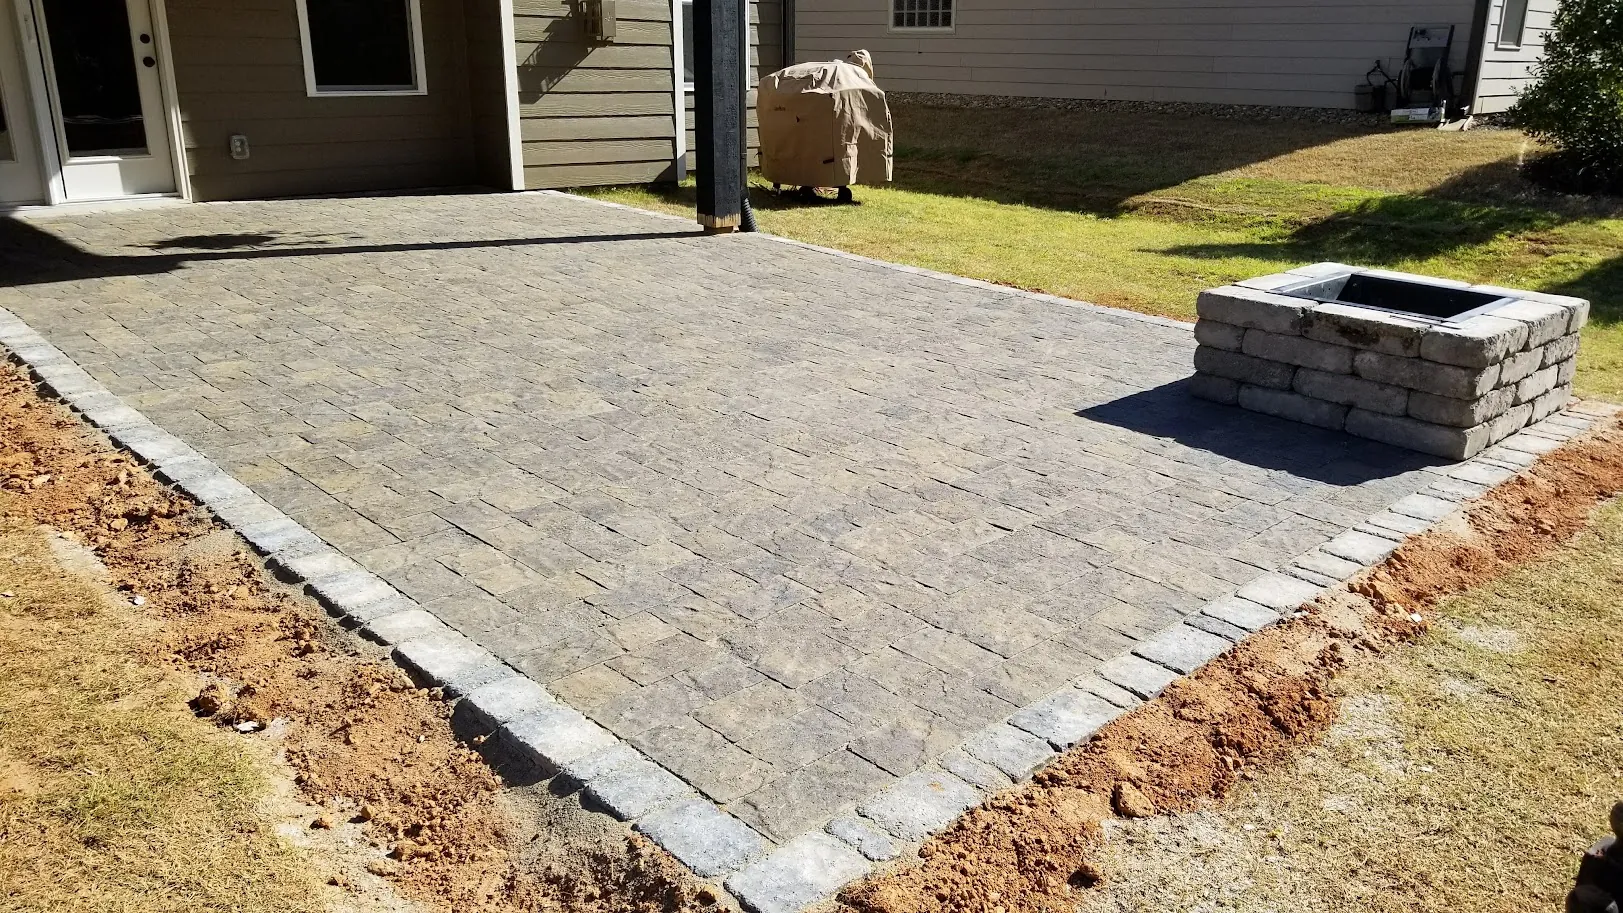
Maintenance
Caring for Your Paver Patio or Driveway: A Simple Seasonal Maintenance Guide
A paver patio or driveway is built to last, but a little regular care keeps it looking and performing the way it did on installation day.
By Innova Hardscapes and Landscapes · Published August 6, 2026
A well-built paver patio or driveway is designed to last — the base preparation and edge restraint that go into it on day one are what make that possible. But “low-maintenance” doesn’t mean “no maintenance.” A little regular care, spread across the seasons rather than saved for one big cleanup, goes a long way toward keeping a hardscape performing the way it did when it was finished.
The basics: sweeping and rinsing
The simplest maintenance step is also the most effective: regular sweeping to keep debris out of the joints, and an occasional rinse to clear dust and buildup off the surface. This alone prevents a lot of the gradual wear that comes from ground-in dirt and organic debris sitting on a paver surface long-term.
Cleaning and pressure damage are not the same thing
A hose and a stiff broom handle most routine cleaning. A pressure washer feels like a faster answer, and it isn’t automatically a problem, but it’s also one of the more common ways a paver surface ends up damaged rather than just cleaned. The actual risk depends on the pressure used, the nozzle and tip, how close it’s held to the surface, the paver material, and the condition of the existing joints — too much pressure or too tight a nozzle angle can blast joint sand out from between the pavers, and on some paver finishes can etch or pit the surface.
If a pressure washer is genuinely needed for built-up grime or staining, a wide fan tip, moderate pressure, and some distance from the surface meaningfully reduce that risk — and joint sand should be expected to need at least some refreshing afterward either way. For everyday upkeep, sweeping and a standard garden hose lower that risk considerably and are usually all that’s needed.
Keep an eye on joint sand
The sand between pavers does real structural work — it helps lock the units together, keeps individual pavers from shifting side to side under foot or vehicle traffic, and closes off the small gaps where weeds and washout would otherwise start. Over time, especially in high-traffic areas, after heavy rain, or after pressure washing, joint sand can settle or wash out.
Losing a little joint sand here and there is normal wear. It becomes worth addressing once gaps are visibly opening up, pavers start to feel slightly loose underfoot, or you notice the same joints emptying out repeatedly in one area — that last pattern in particular can point to water moving through that spot more than the surrounding surface, which is worth a closer look rather than just re-filling the joint each season.
A weed in a joint doesn’t, by itself, prove anything has failed
Seeing a weed come up through a joint understandably worries some homeowners, but on its own it’s typically a routine maintenance item rather than evidence that the pavement system has failed. Joints are a hospitable place for windblown seeds regardless of how well a surface was built. Pulling the weed and topping off that joint with sand is normally enough.
What’s worth paying more attention to is the pattern around the weed, not the weed itself. A single weed in an otherwise tight, stable joint is cosmetic. Weeds concentrated in one area alongside soft or shifting pavers, or joints that stay damp well after the rest of the surface has dried, are a different picture — that combination can point to washed-out joint material or water collecting in that spot, and is worth a closer look rather than routine weeding.
Drainage problems show up first as maintenance problems
A paver surface that sheds water correctly tends to stay cleaner and hold its joint sand longer than one that doesn’t. When water sits on or moves through a section of patio or driveway instead of draining away, it can accelerate several of the maintenance issues on this page at once: joint sand tends to wash out faster, algae and moss have an easier time getting a foothold in joints that stay damp, and in more persistent cases the base beneath the pavers can soften enough to let that section settle.
If one area of a patio or driveway consistently needs more sand, more cleaning, or more attention than the rest of the surface, that pattern is worth noticing. It often means the underlying issue is how water is moving through that specific spot rather than the pavers themselves — see our guide to landscape drainage for how that gets diagnosed and corrected.
Sealing helps protect color and joints
Sealing a paver surface helps protect both its color and its joint stability against weather and daily wear. We offer brick paver cleaning and sealing as a standalone maintenance service — for a patio or driveway we built, or for an existing surface that needs attention. It’s a reasonable step to plan for periodically as part of ongoing upkeep, particularly for surfaces that see heavy sun, foot traffic, or vehicle use.
Address small issues before they grow
A single settled paver, a small gap that’s opened up, or a joint that’s lost its sand are all easier to fix early than after a full season of additional wear. Because a paver surface is built from individual units rather than one poured slab, spot repairs are also genuinely possible: a settled or damaged paver in one section can generally be lifted, the base beneath it corrected, and the same or a matching unit reset — without disturbing the rest of the surface. A poured concrete surface facing the same localized settlement usually needs a visible patch, a full section replacement, or a slab-lifting repair, since there’s no individual unit to isolate. That difference is one of the practical reasons pavers hold up well to ordinary wear over time.
What to check as the seasons change
Paver maintenance doesn’t need a strict calendar, but a few seasonal check-ins catch small issues while they’re still small:
- After winter, before spring planting. Walk the surface and look for joints that lost sand over the wetter, colder months, any paver that feels less stable than its neighbors, and low spots where water may have been sitting.
- Going into summer. This is a reasonable time to plan sealing if it’s due, since surfaces get heavier sun and traffic through the warm months.
- Going into fall. Clear leaves and organic debris promptly rather than letting them sit on the surface or in joints — decomposing organic matter holds moisture against the pavers and can stain lighter materials.
- Anytime after a heavy or prolonged rain. This is the best time to actually see how the surface is draining, since problem spots reveal themselves while they’re wet rather than after they’ve dried and the evidence is gone.
When to call in help
Routine sweeping and rinsing is a homeowner task. Resealing, a joint sand refresh across a full surface, or addressing a settling or drainage issue is where it’s worth bringing in the team that understands how the surface was originally built. See Patios or Driveways for more on how we approach the surfaces we build, or Request an Estimate if it’s time for a maintenance visit.
Related Articles
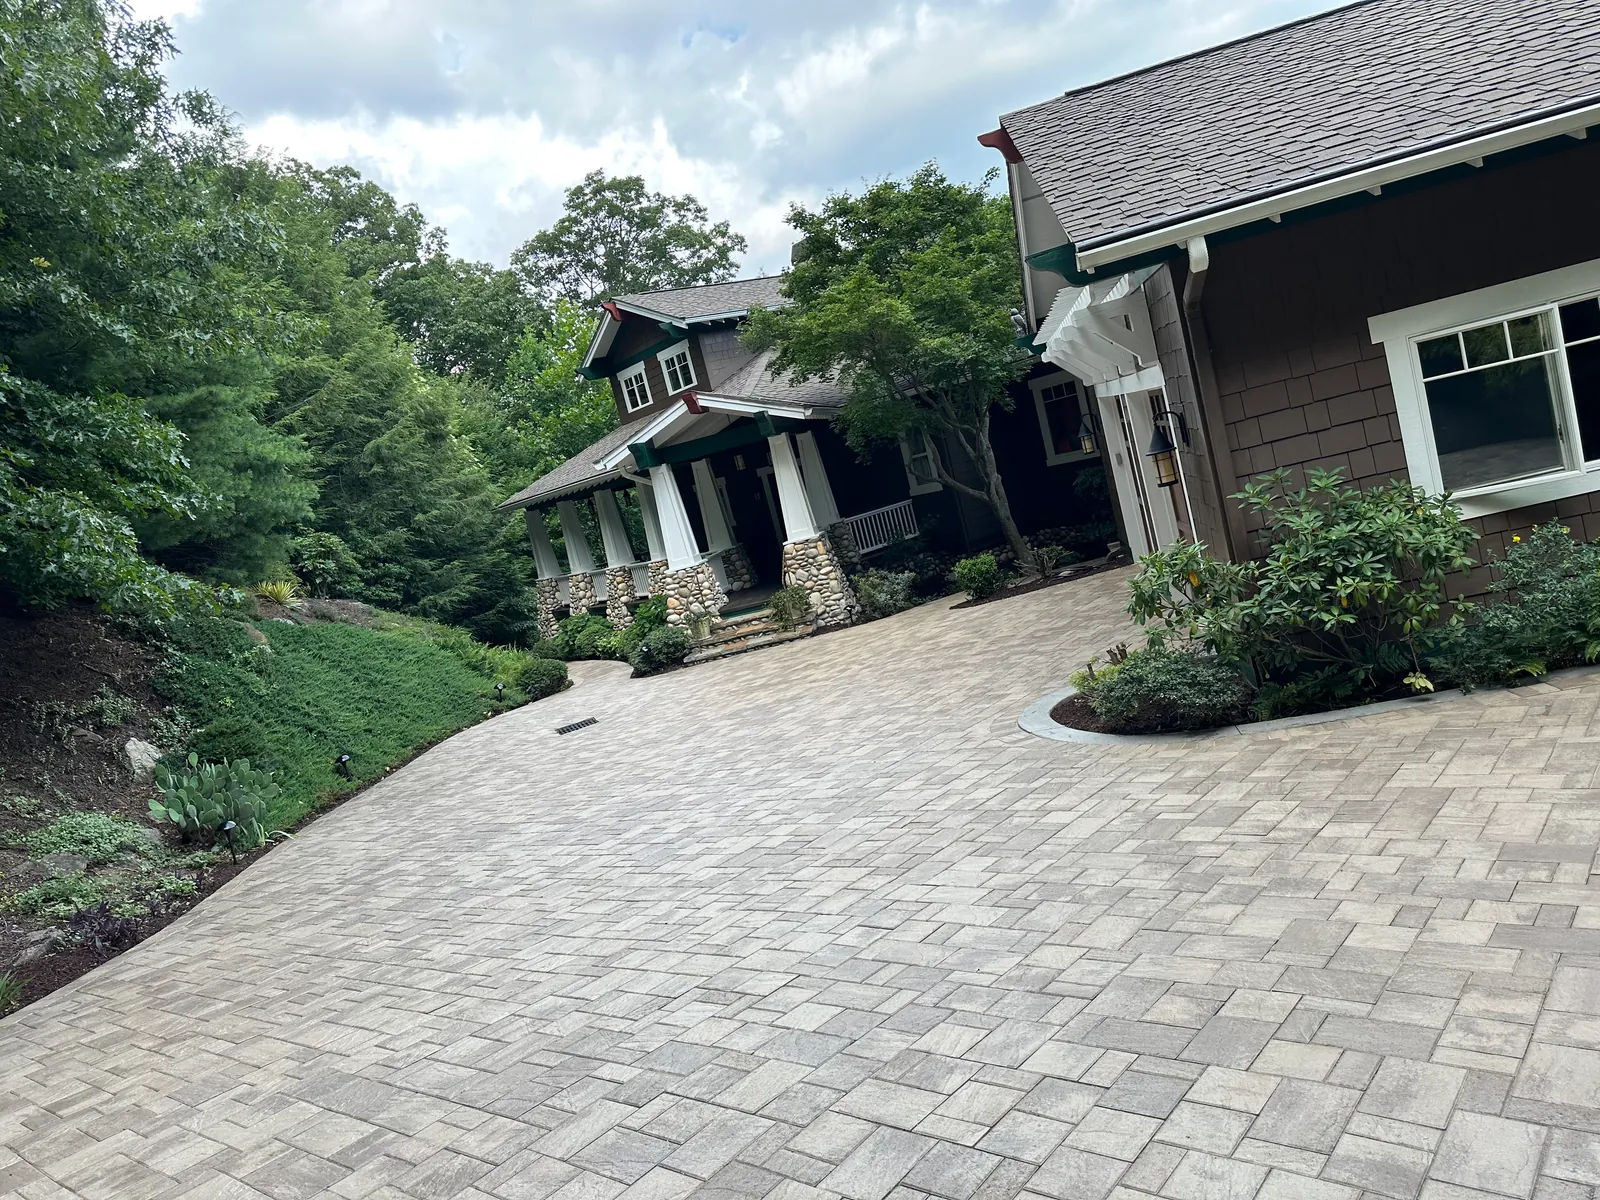
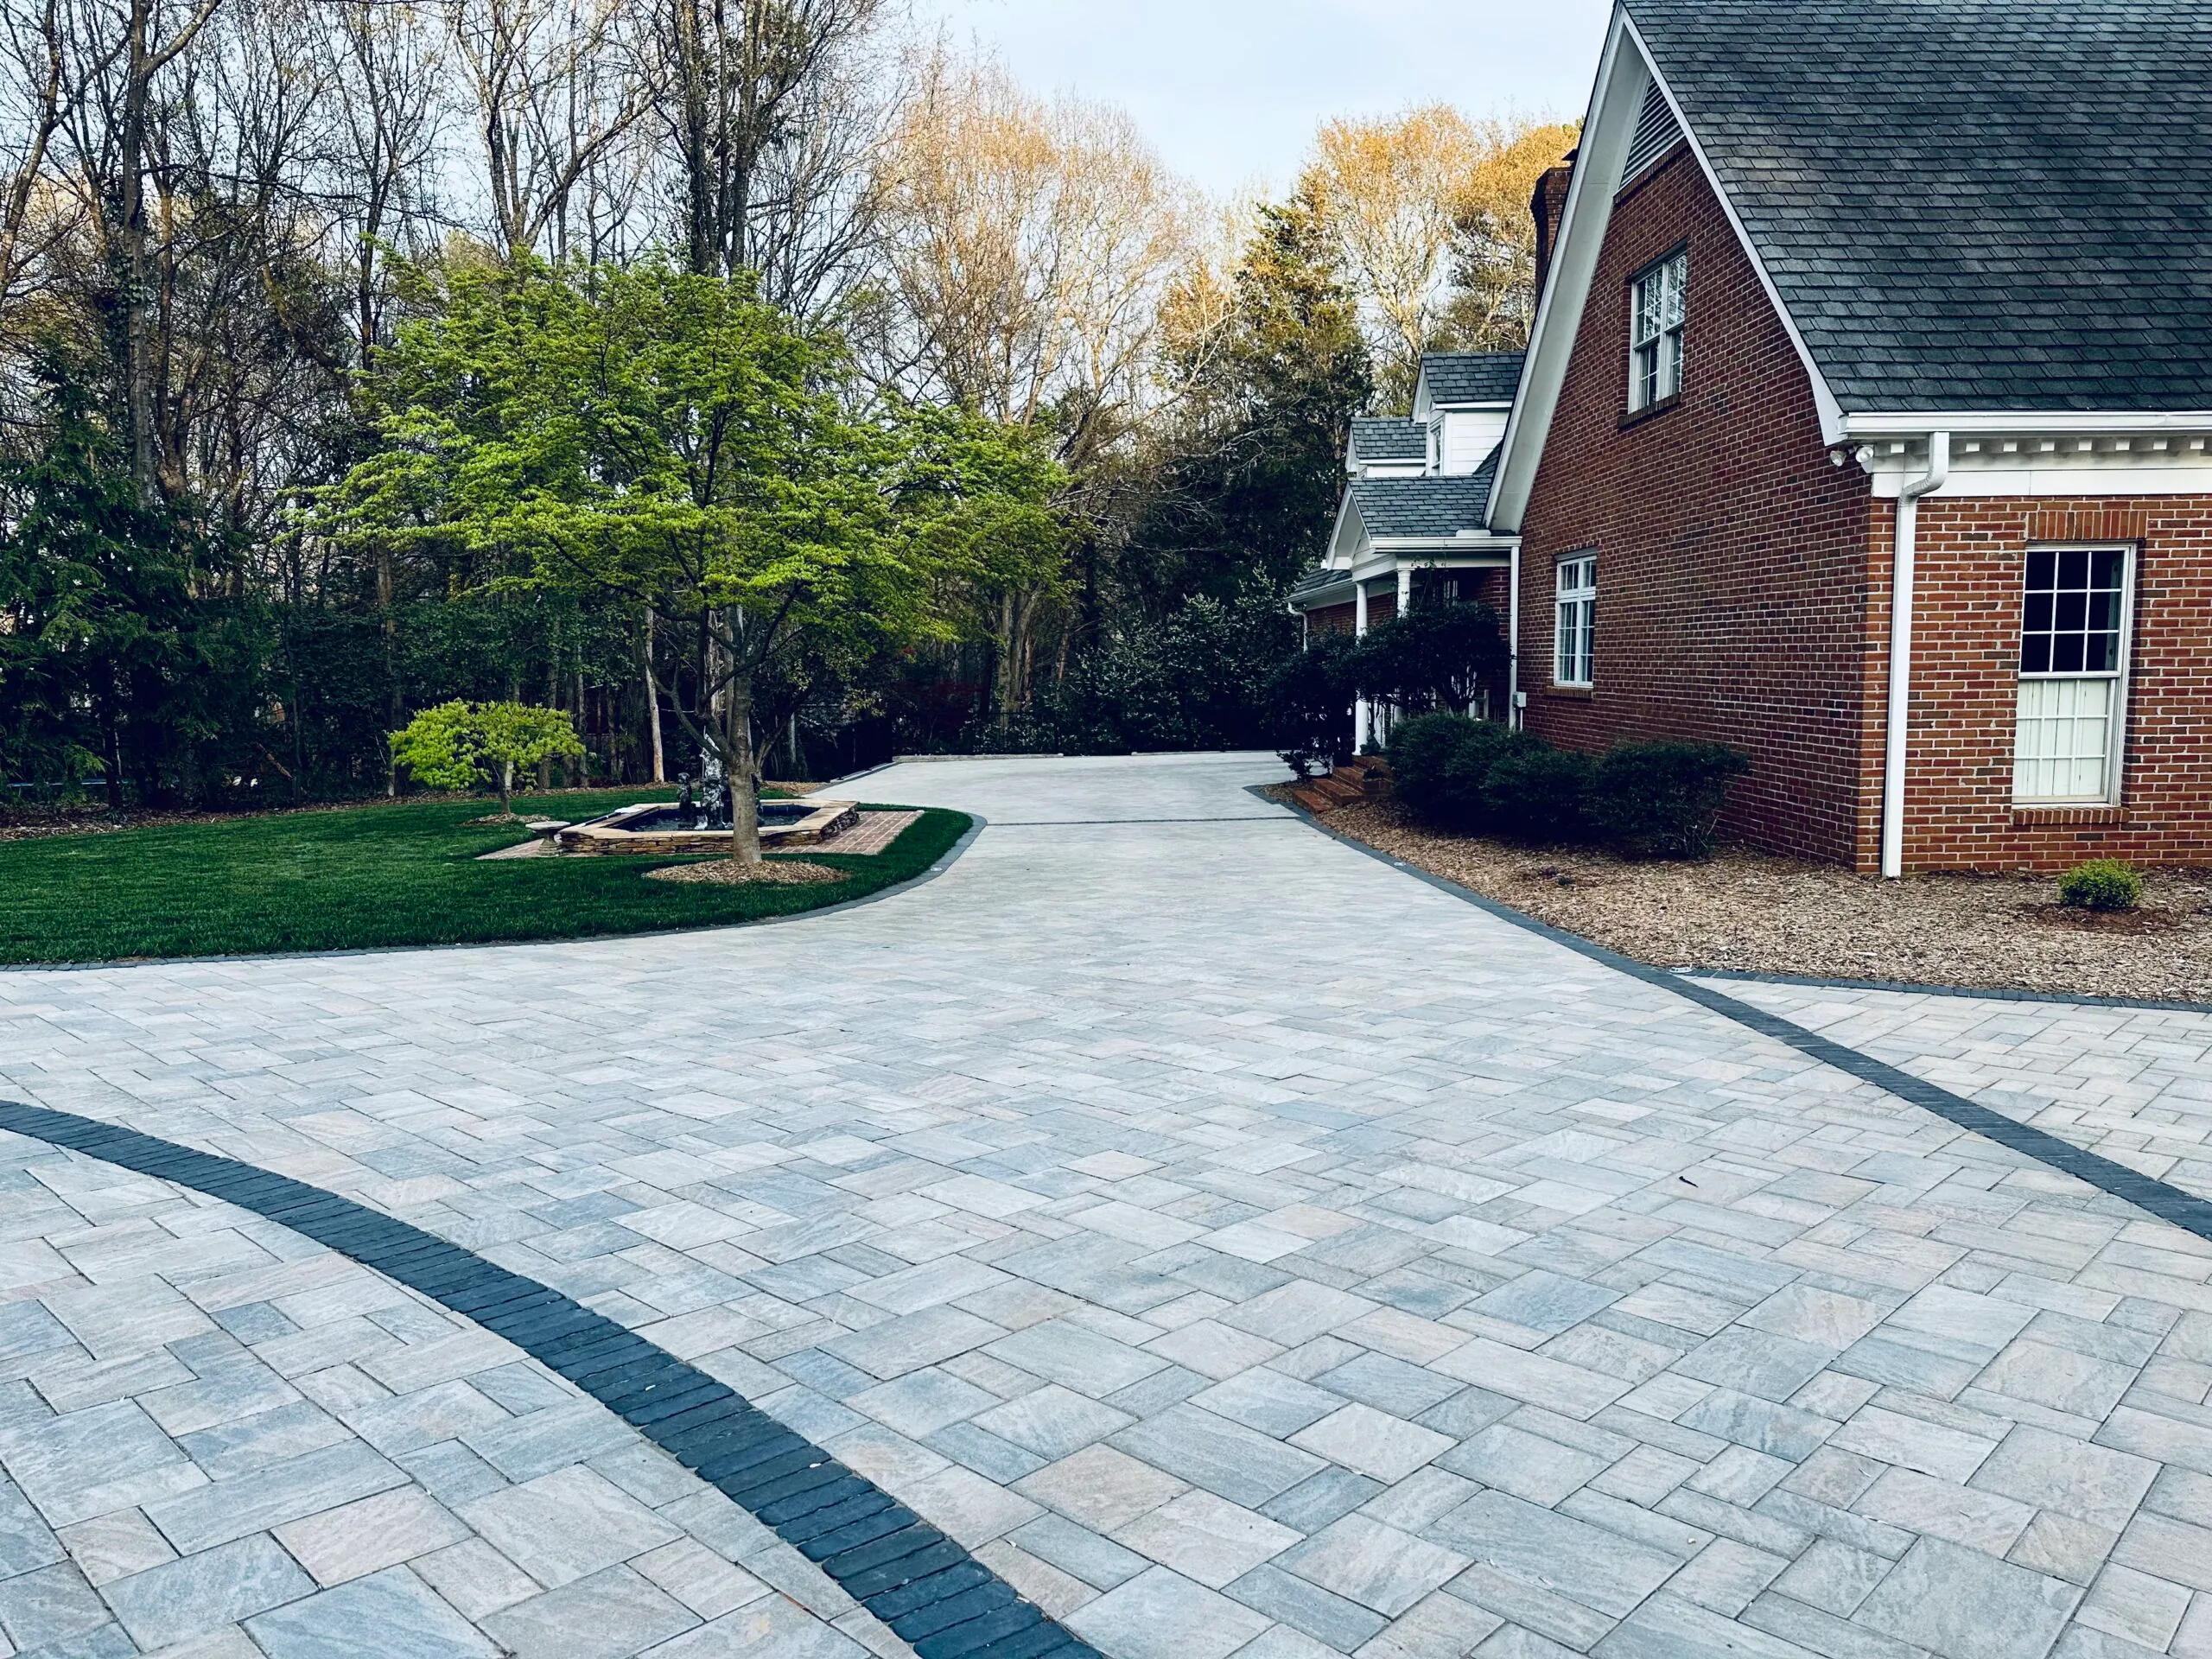
Driveway Paver Repair Methods That Last
September 25, 2026
Compare driveway paver repair methods for sunken, loose, stained, and cracked areas, and learn when professional base repair is the smarter long-term choice.
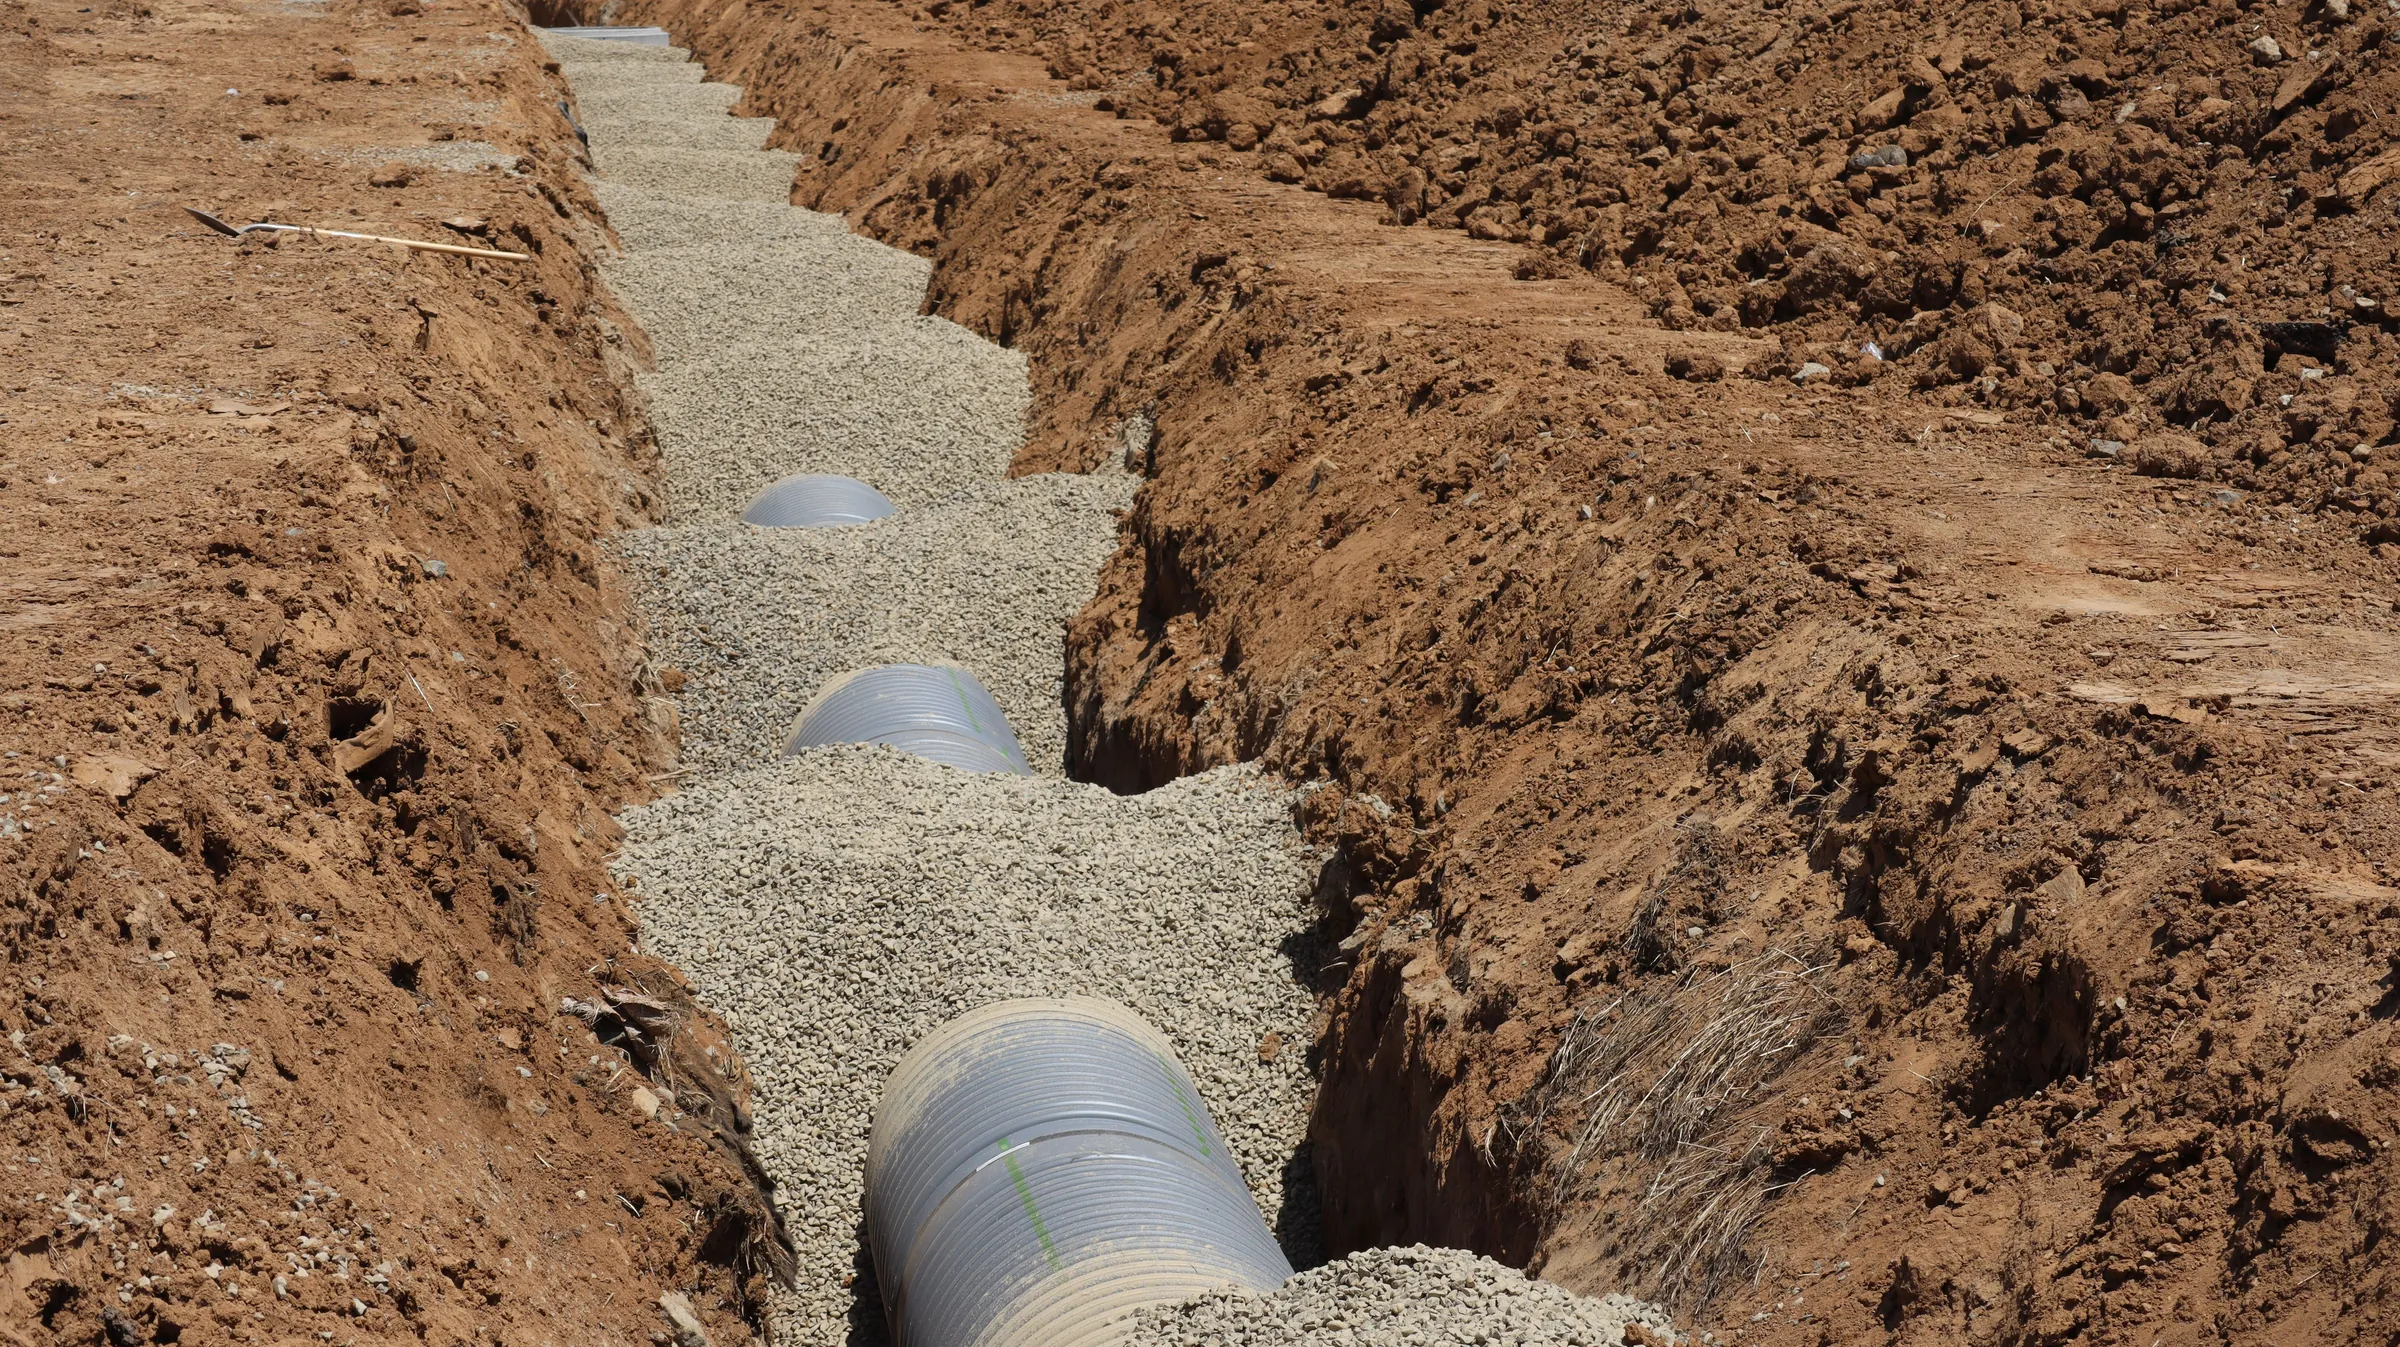
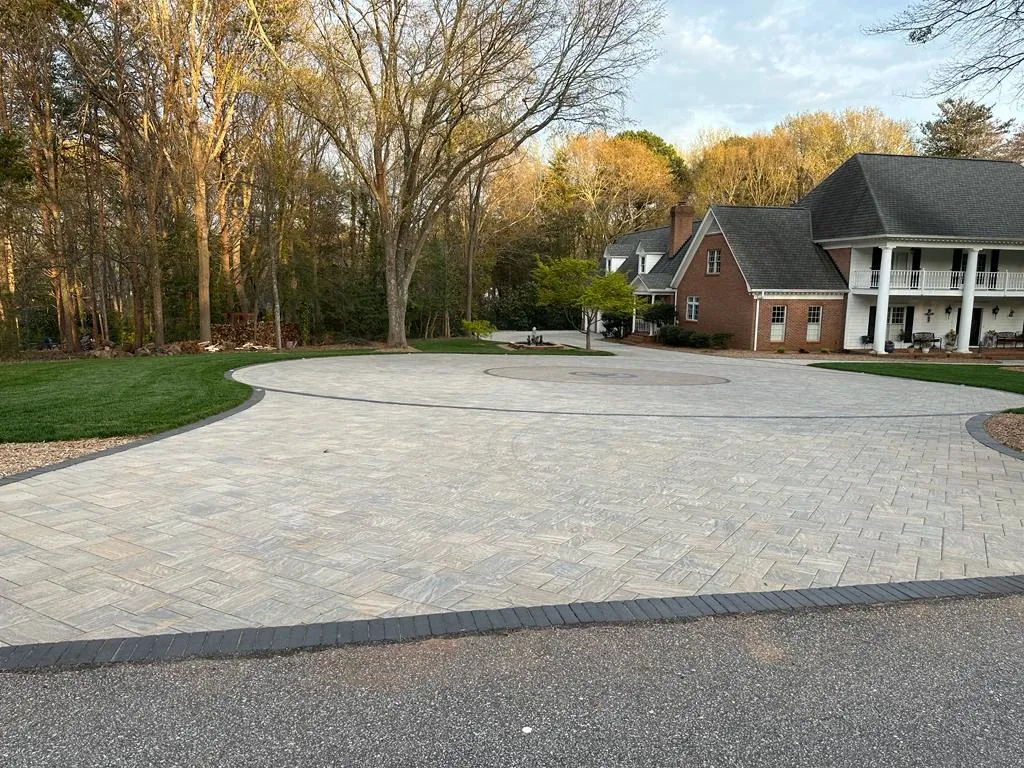
How to Improve Driveway Drainage the Right Way
September 17, 2026
Learn how to improve driveway drainage with grading, drains, and surface repairs to prevent water damage, protect curb appeal, and reduce repair costs.
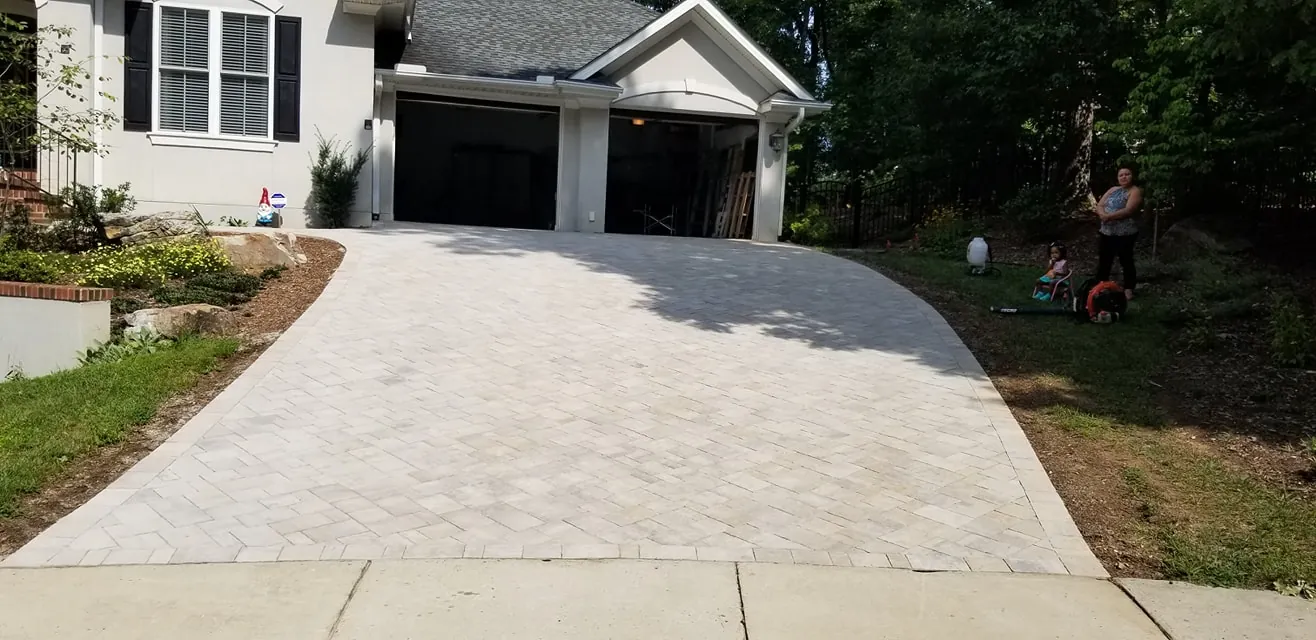
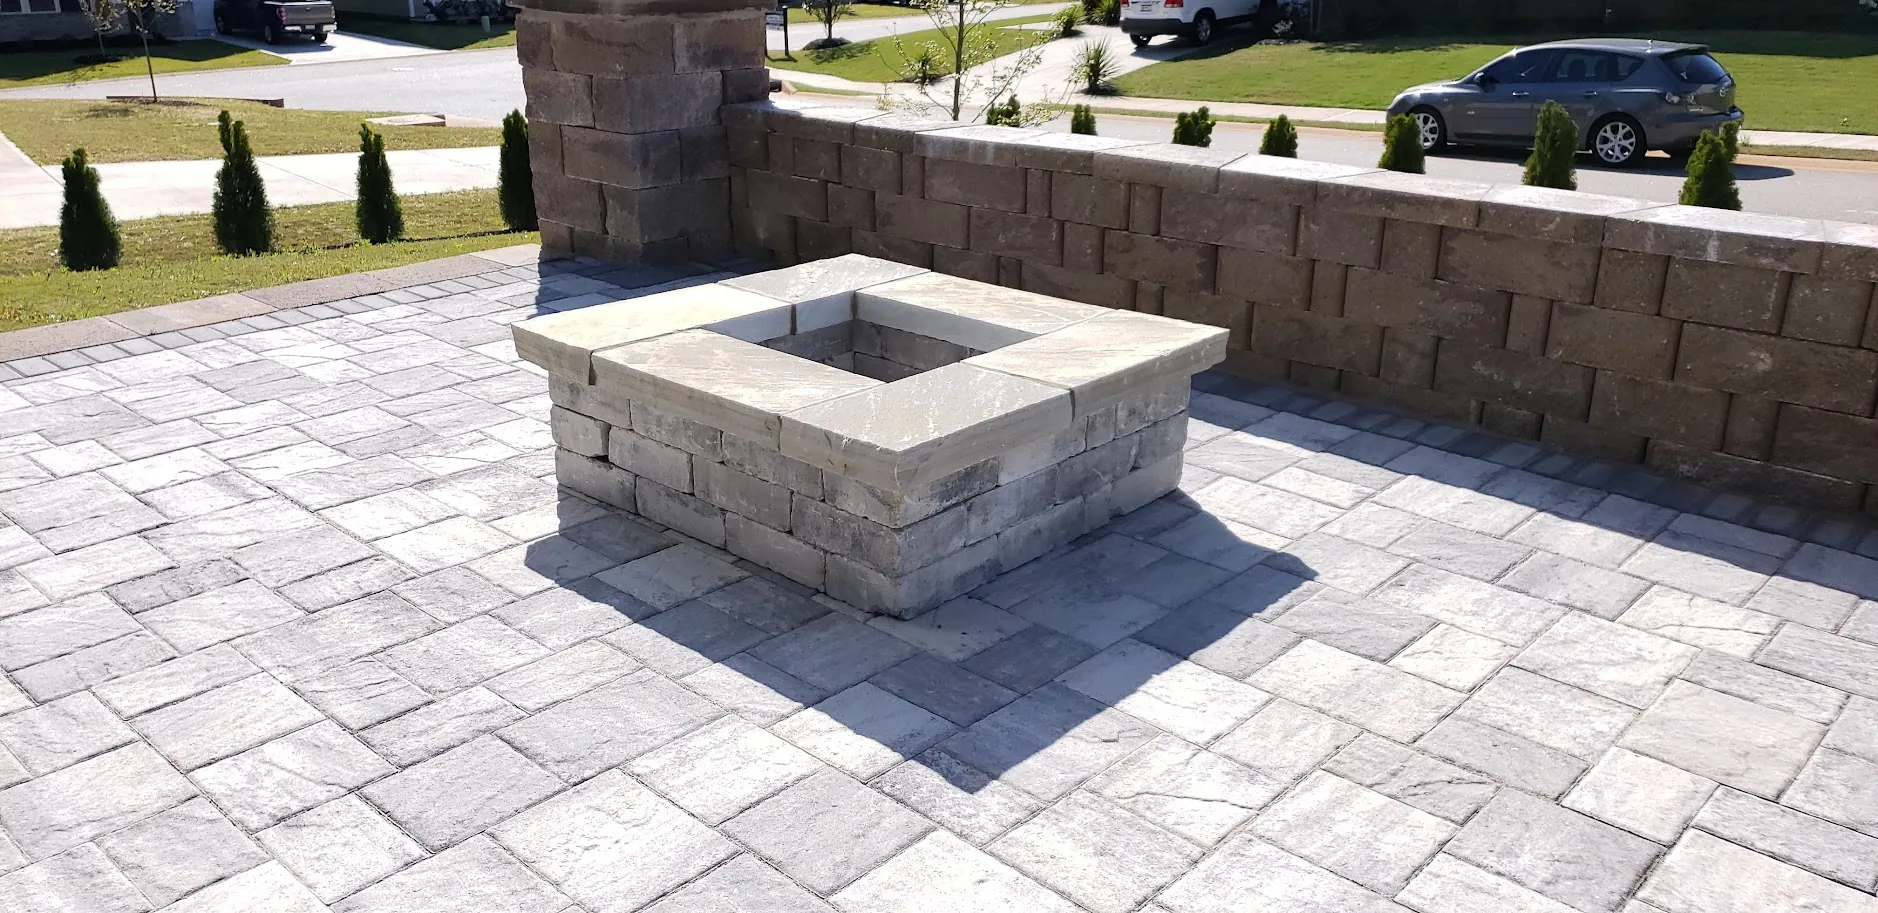
Brick Paver Cleaning and Sealing That Lasts
August 10, 2026
Brick paver cleaning and sealing protects patios, driveways, and pool decks from stains, weeds, fading, and wear across Upstate South Carolina homes.
Frequently Asked Questions
Do pavers need to be sealed or cleaned?
Sealing and cleaning helps preserve paver color and joint stability over time. We offer brick paver cleaning & sealing as part of a new project or as a standalone service for an existing patio or driveway.
How is a paver driveway different from asphalt or poured concrete for maintenance purposes?
A paver driveway is built from individual units on an engineered base, which makes it more resistant to cracking and easier to repair in sections if ever needed, compared to a single poured surface.
Ready to start your project?
Tell us about your space and we'll follow up to schedule a consultation.