
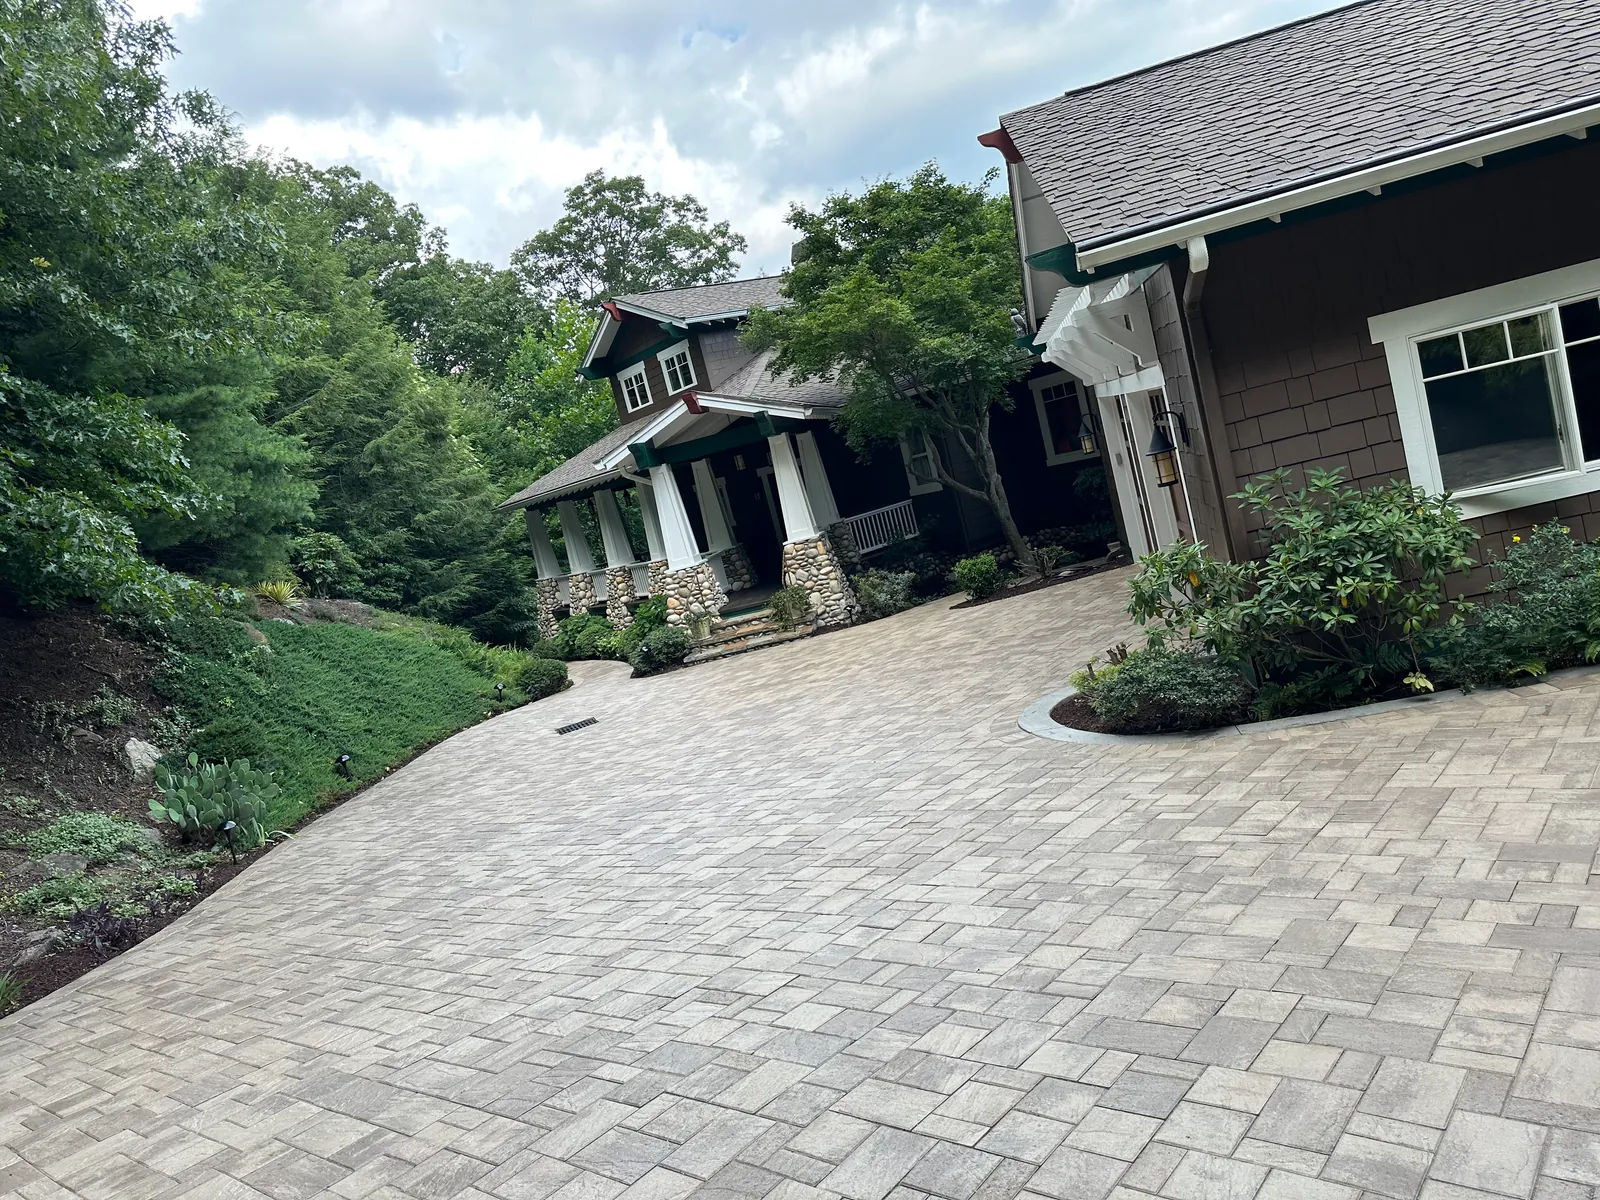
Maintenance
Driveway Paver Repair Methods That Last
Compare driveway paver repair methods for sunken, loose, stained, and cracked areas, and learn when professional base repair is the smarter long-term choice.
By Innova Hardscapes and Landscapes · Published September 25, 2026
A paver driveway rarely fails all at once. It starts with a low spot that holds rainwater, a few loose edges near the garage, or joint sand that keeps washing away after a storm. The right driveway paver repair methods address the cause beneath the surface, not just the visible paver that has shifted.
For homeowners in Upstate South Carolina, repairing a paver driveway promptly protects curb appeal, driving comfort, and the investment already made in the property. Clay soils, heavy rainfall, tree roots, and everyday vehicle traffic can all affect how a paved surface performs. A thoughtful repair can return the driveway to a clean, level, finished appearance without requiring a complete replacement.
Start With the Reason the Pavers Moved
Individual pavers are durable. When a driveway develops dips, rocking pavers, widening joints, or standing water, the underlying base is often the real issue. Replacing only the affected paver may improve appearance for a short time, but it will not correct poorly compacted aggregate, eroded bedding sand, drainage problems, or soil movement.
A careful evaluation begins by looking at the pattern of damage. A single cracked unit may have been damaged by a dropped object or vehicle load. A broad depressed area, however, usually points to a base problem. Damage along one side of the driveway may indicate runoff from a roof, downspout, hillside, or adjoining lawn is carrying away joint sand and base material.
The goal is to repair only what needs repair while making sure the corrected area blends naturally with the surrounding driveway. That balance protects the budget and produces a result that looks intentional rather than patched.
Common Driveway Paver Repair Methods
Lifting and resetting sunken pavers
Resetting is the most effective solution for a localized low area. The affected pavers are removed carefully so they can be reused when they are still in good condition. The crew then excavates the bedding layer and, when necessary, the compacted base below it.
Fresh aggregate base is added in controlled lifts and compacted thoroughly. A clean bedding sand layer is screeded to the correct height before the original pavers are reset, leveled, and compacted into place. Polymer-modified joint sand or an appropriate jointing material is swept into the joints to help stabilize the surface.
This method takes more work than adding sand beneath a loose paver, but it provides a longer-lasting result. If the low spot is caused by base settlement, correcting the base is the difference between a proper repair and a recurring problem.
Replacing cracked, chipped, or stained pavers
A damaged paver can often be replaced without disturbing the rest of the driveway. Matching the replacement is the key challenge. Even when the same paver line is still available, older pavers may have weathered, faded, or developed a natural patina that makes a new piece appear different at first.
A skilled installer removes the damaged unit, prepares the setting bed, and installs a replacement that sits flush with the surrounding field. When an exact match is unavailable, pavers from a less visible area may sometimes be moved to the repair location, with new material installed in the less noticeable area. This approach depends on the driveway pattern and available material, but it can create a more balanced finish.
Stains require a different decision. Rust, oil, fertilizer, and tire marks may respond to paver-safe cleaning products, while deeply discolored or damaged units may be better replaced. Aggressive pressure washing or harsh chemicals can scar the paver surface and strip joint sand, so cleaning should be selected with care.
Repairing loose or washed-out joints
Joint material does more than fill a gap. It helps interlock the pavers, limits lateral movement, and reduces the opportunity for weeds and insects to take hold. When joints are empty or repeatedly wash out, the driveway can begin to feel loose underfoot and lose its crisp, finished lines.
The repair typically involves cleaning debris from the joints, allowing the area to dry as needed, and installing new joint sand. Polymeric sand is often a useful choice for residential paver driveways because it hardens after activation and resists erosion better than ordinary loose sand. It still needs proper installation: joints must be cleaned to the correct depth, the surface must be dry, and excess material must be removed before wetting.
If fresh joint sand disappears again soon after installation, the issue may be drainage, edging, or base movement rather than the sand itself. Re-sanding alone is not a permanent fix when water is moving through the driveway structure.
Rebuilding failed edges and restraints
The outer edge of a paver driveway carries significant responsibility. Edge restraints hold the paver field in place as vehicles turn, brake, and enter from the street. When an edge restraint cracks, settles, or separates, pavers can begin creeping outward and joints may open across a much larger area.
Repairing this condition may require removing the outer row of pavers, rebuilding the base, and installing a durable edge restraint secured for driveway traffic. The pavers are then reset tightly against the repaired boundary. This is one repair where simply pushing loose pavers back into position rarely holds for long.
Correcting drainage before resetting pavers
Water is one of the most common sources of paver driveway trouble. Ponding water can soften subgrade soils, wash out sand, and leave algae or mineral staining. In the rolling terrain found around Greenville, Greer, Easley, Travelers Rest, and other parts of Upstate SC, even a minor grading issue can direct a surprising amount of runoff toward a driveway.
Drainage correction may include adjusting the driveway pitch, regrading nearby landscape beds, extending downspouts, adding a drainage channel, or improving the transition between the driveway and lawn. The proper option depends on where the water begins and where it can safely discharge. Pavers should be reset only after that water path has been addressed.
When a Small Repair Is Enough - and When It Is Not
A small repair is generally appropriate when damage is isolated, the surrounding pavers remain level, and the driveway drains properly. A few cracked units, a localized stain, or joints that have simply aged can often be corrected without major excavation.
More extensive work is worth considering when multiple sections are sinking, water consistently pools near the home or garage, edges are spreading, or pavers rock across a broad area. These symptoms may indicate widespread base settlement or inadequate drainage design. Spot repairs can still have a role, but a larger rebuild may be more cost-effective than returning every season to repair the next failed section.
Driveways also require a stronger foundation than patios and walkways. A repair method that is perfectly suitable around a firepit or garden path may not withstand the load of trucks, SUVs, and daily vehicle traffic. That is why base depth, compaction, and edge containment matter so much in a driveway repair.
Protecting the Repair After the Work Is Done
A well-repaired paver driveway benefits from simple, consistent care. Sweep away leaves and soil before they break down in the joints, and address oil leaks quickly with a paver-appropriate cleaner. Watch for water flowing from roof downspouts or landscape beds toward the paved surface, particularly after heavy rain.
Sealing can improve color and stain resistance for some paver types, but it is not automatically the right choice for every driveway. A sealer must be compatible with the material and applied to a clean, dry surface — see our guide to professional paver cleaning and sealing for how that process works. Some homeowners prefer the natural appearance of unsealed pavers, while others value the enriched color and easier cleanup that the right sealer can provide.
Professional repairs also preserve the practical details that homeowners notice every day: smooth transitions at the garage, consistent slope away from the house, firm edges, and a surface that feels solid under tires. Clean work areas and careful restoration of adjacent grass or landscape beds matter just as much as the pavers themselves.
Whether your driveway has one sunken section or signs of broader movement, the best next step is to identify why it changed before choosing a repair. A properly repaired paver driveway can once again frame the home with the polished, dependable welcome it was designed to provide.
Related Services
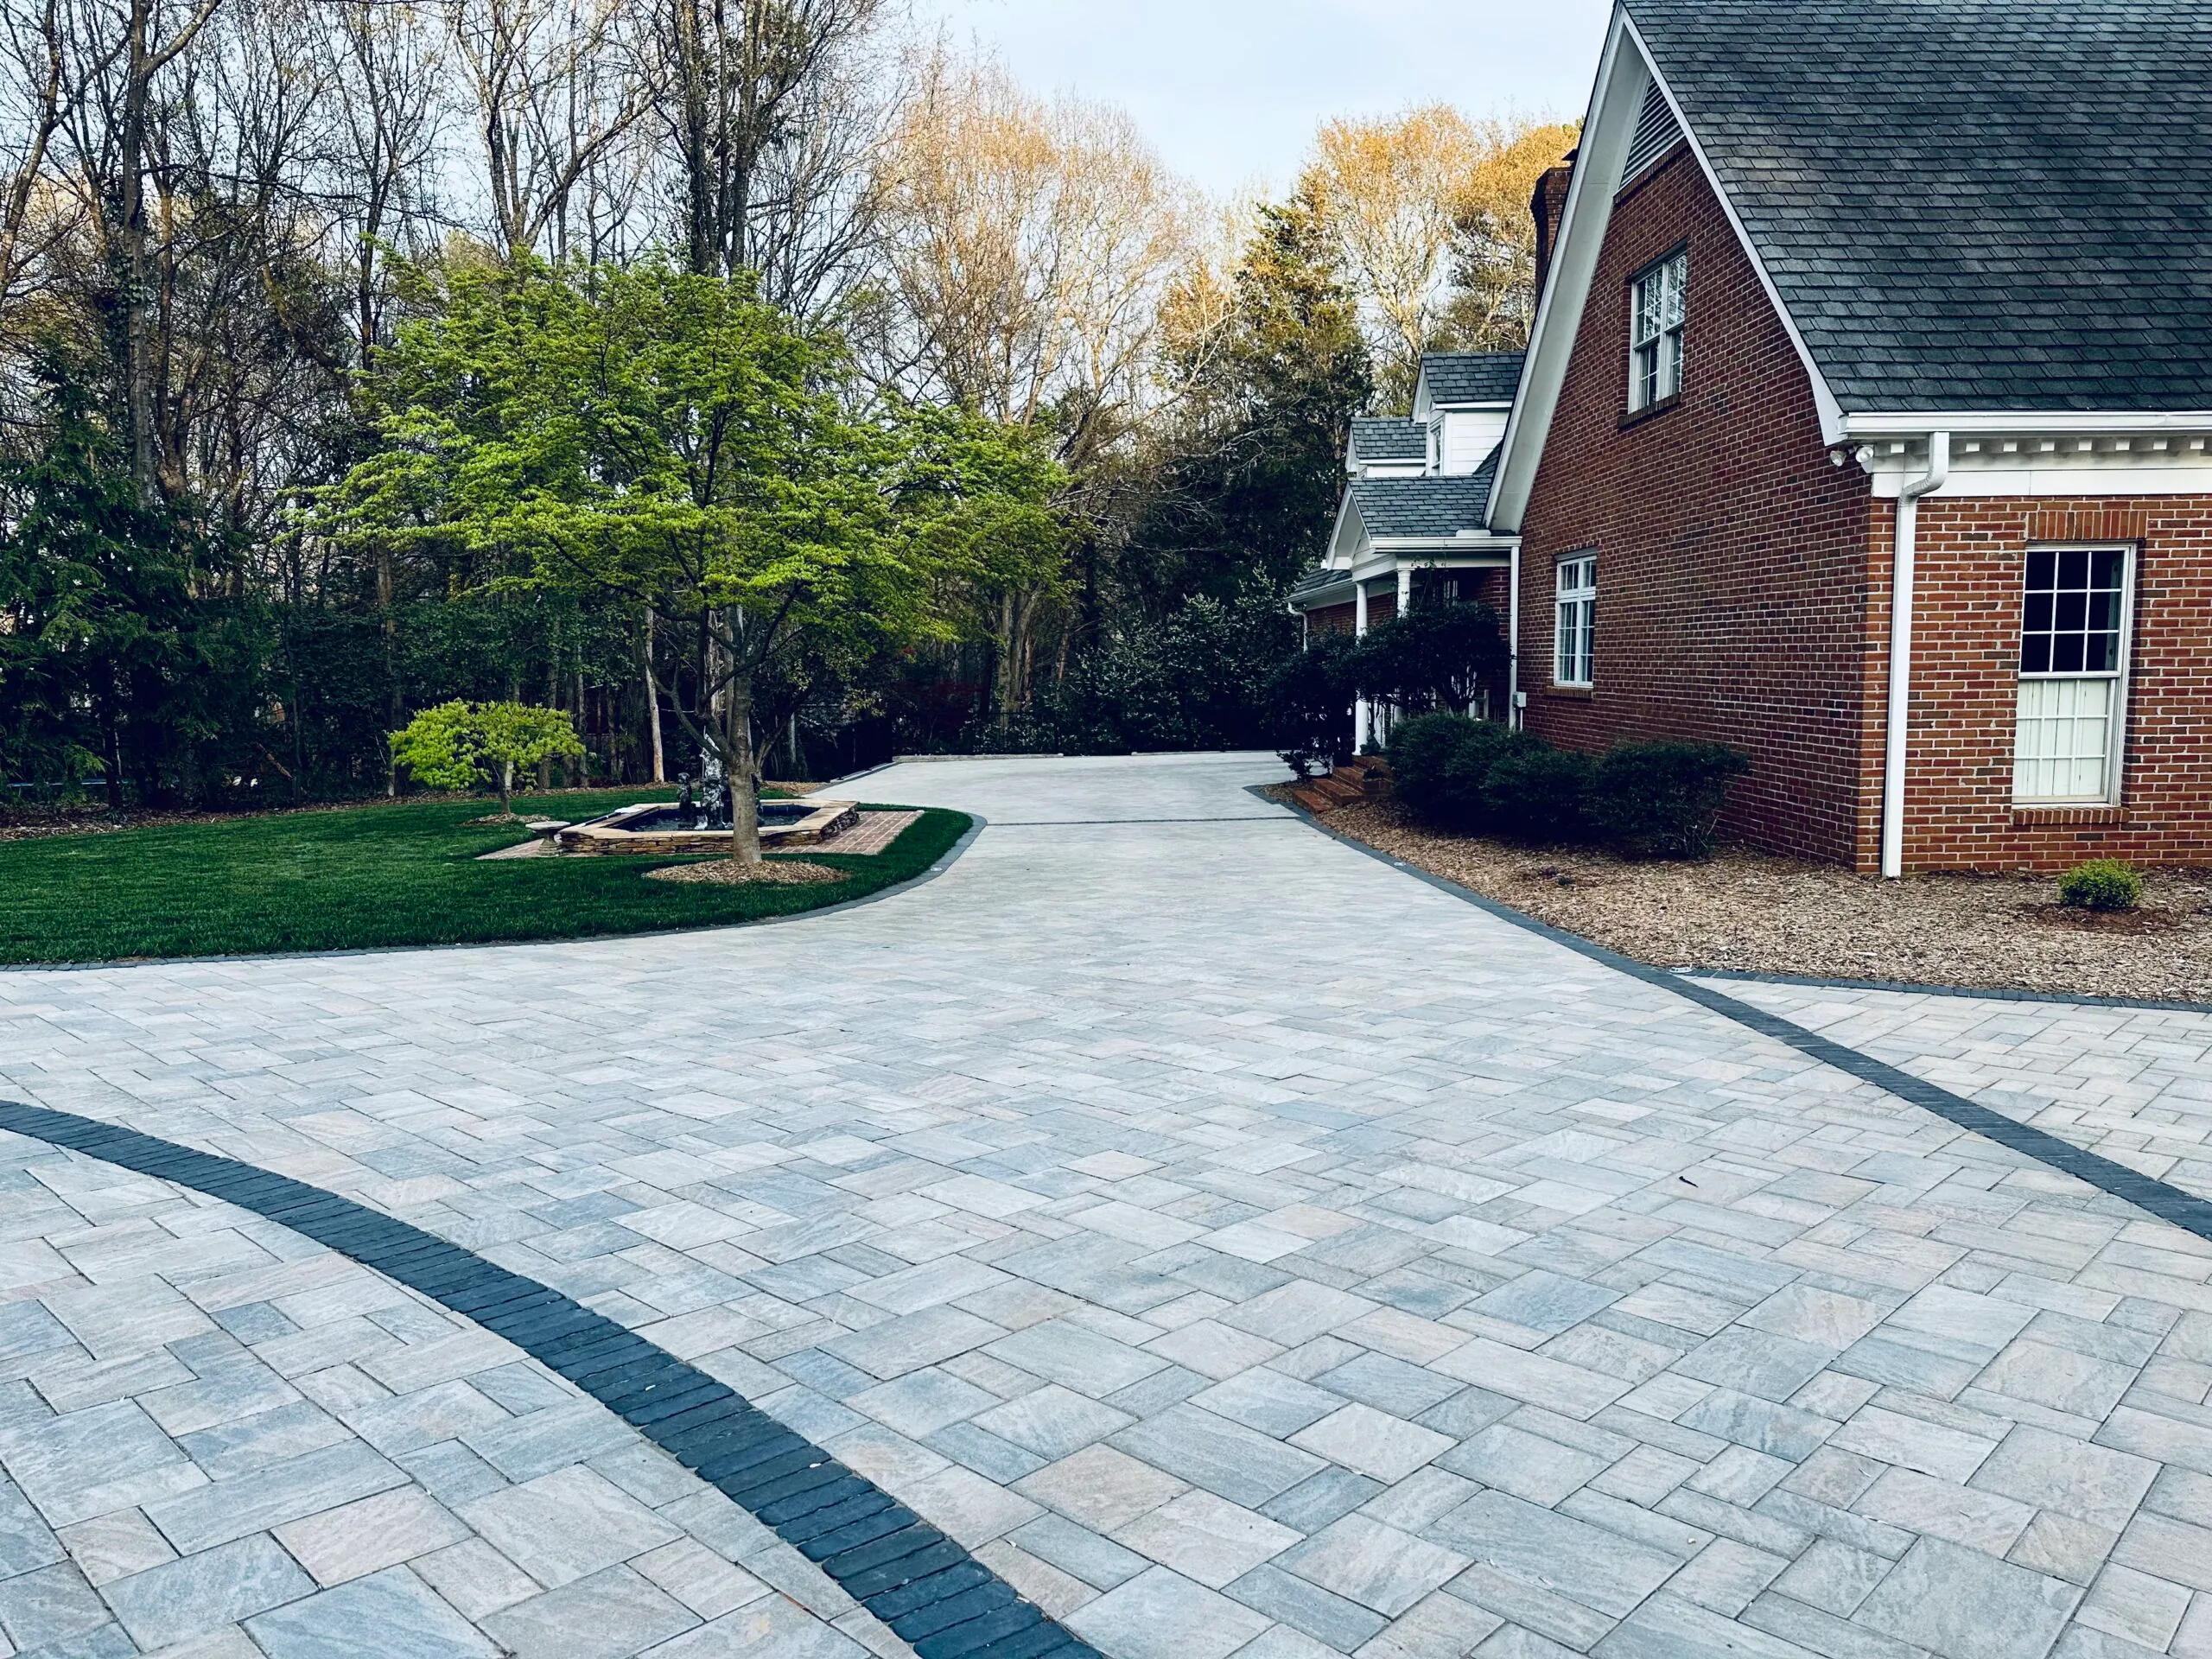
Driveways
Paver driveways built on a base engineered for daily vehicle traffic, not just poured for looks.
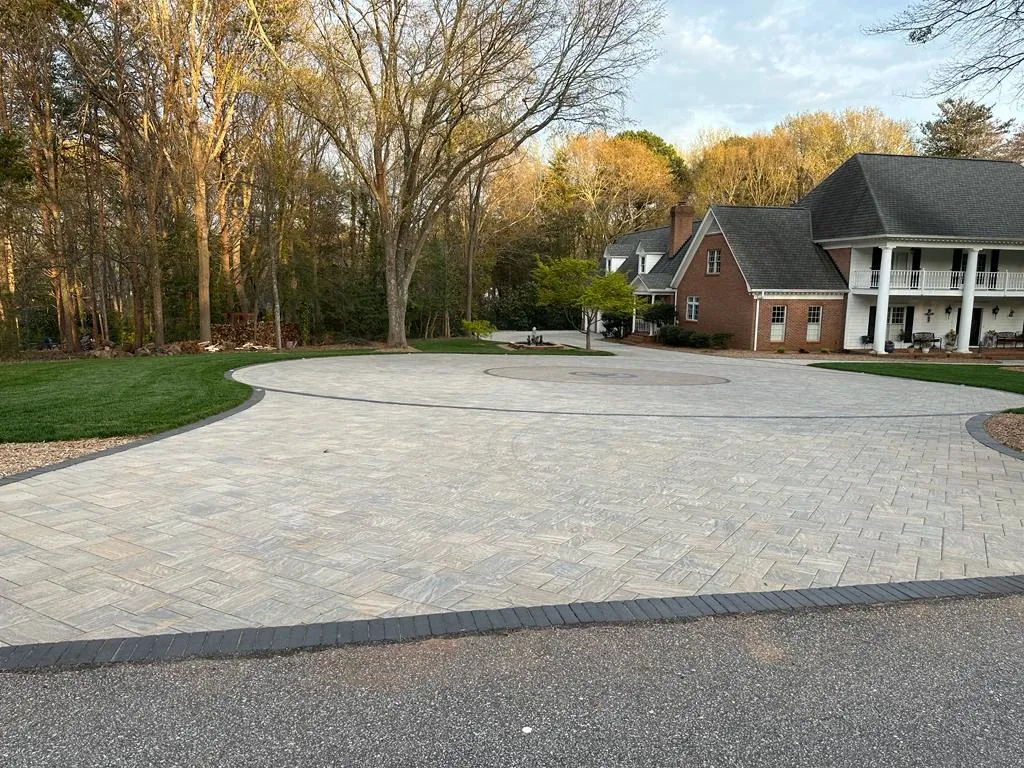
Drainage Solutions
Solves standing water and erosion issues before they damage anything else on the property.
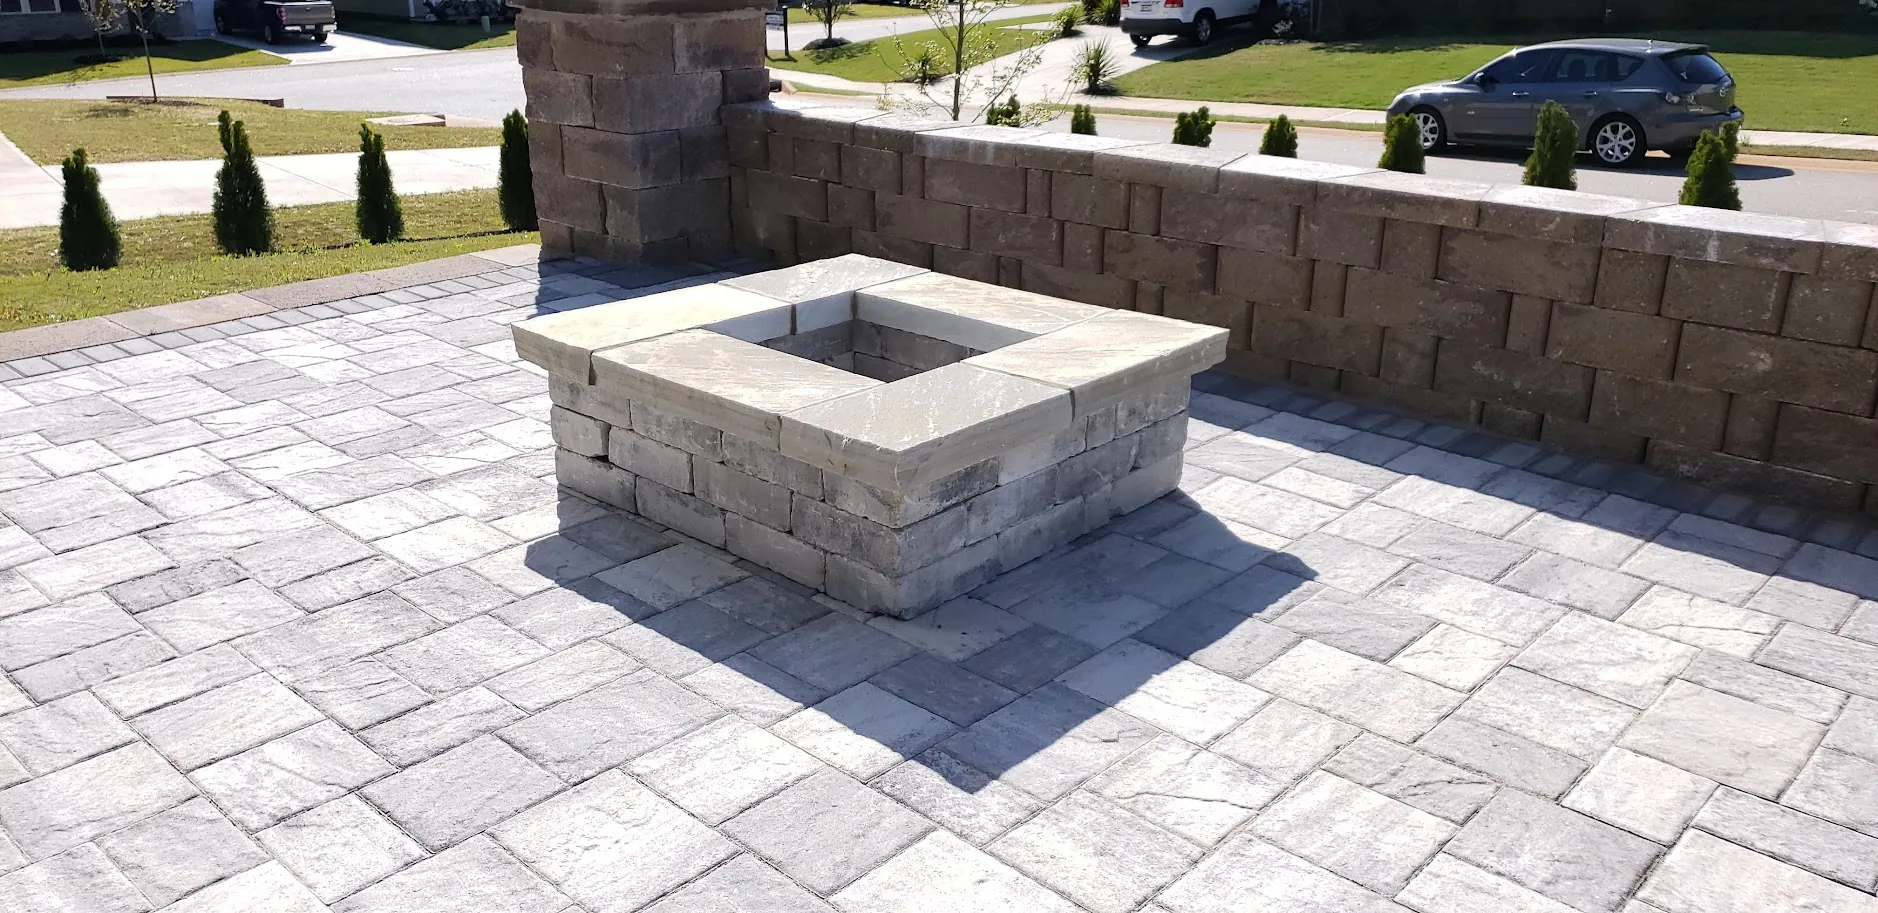
Patios
Durable, precisely-laid patios built on a proper base — the difference shows up years later, not on day one.
Related Articles
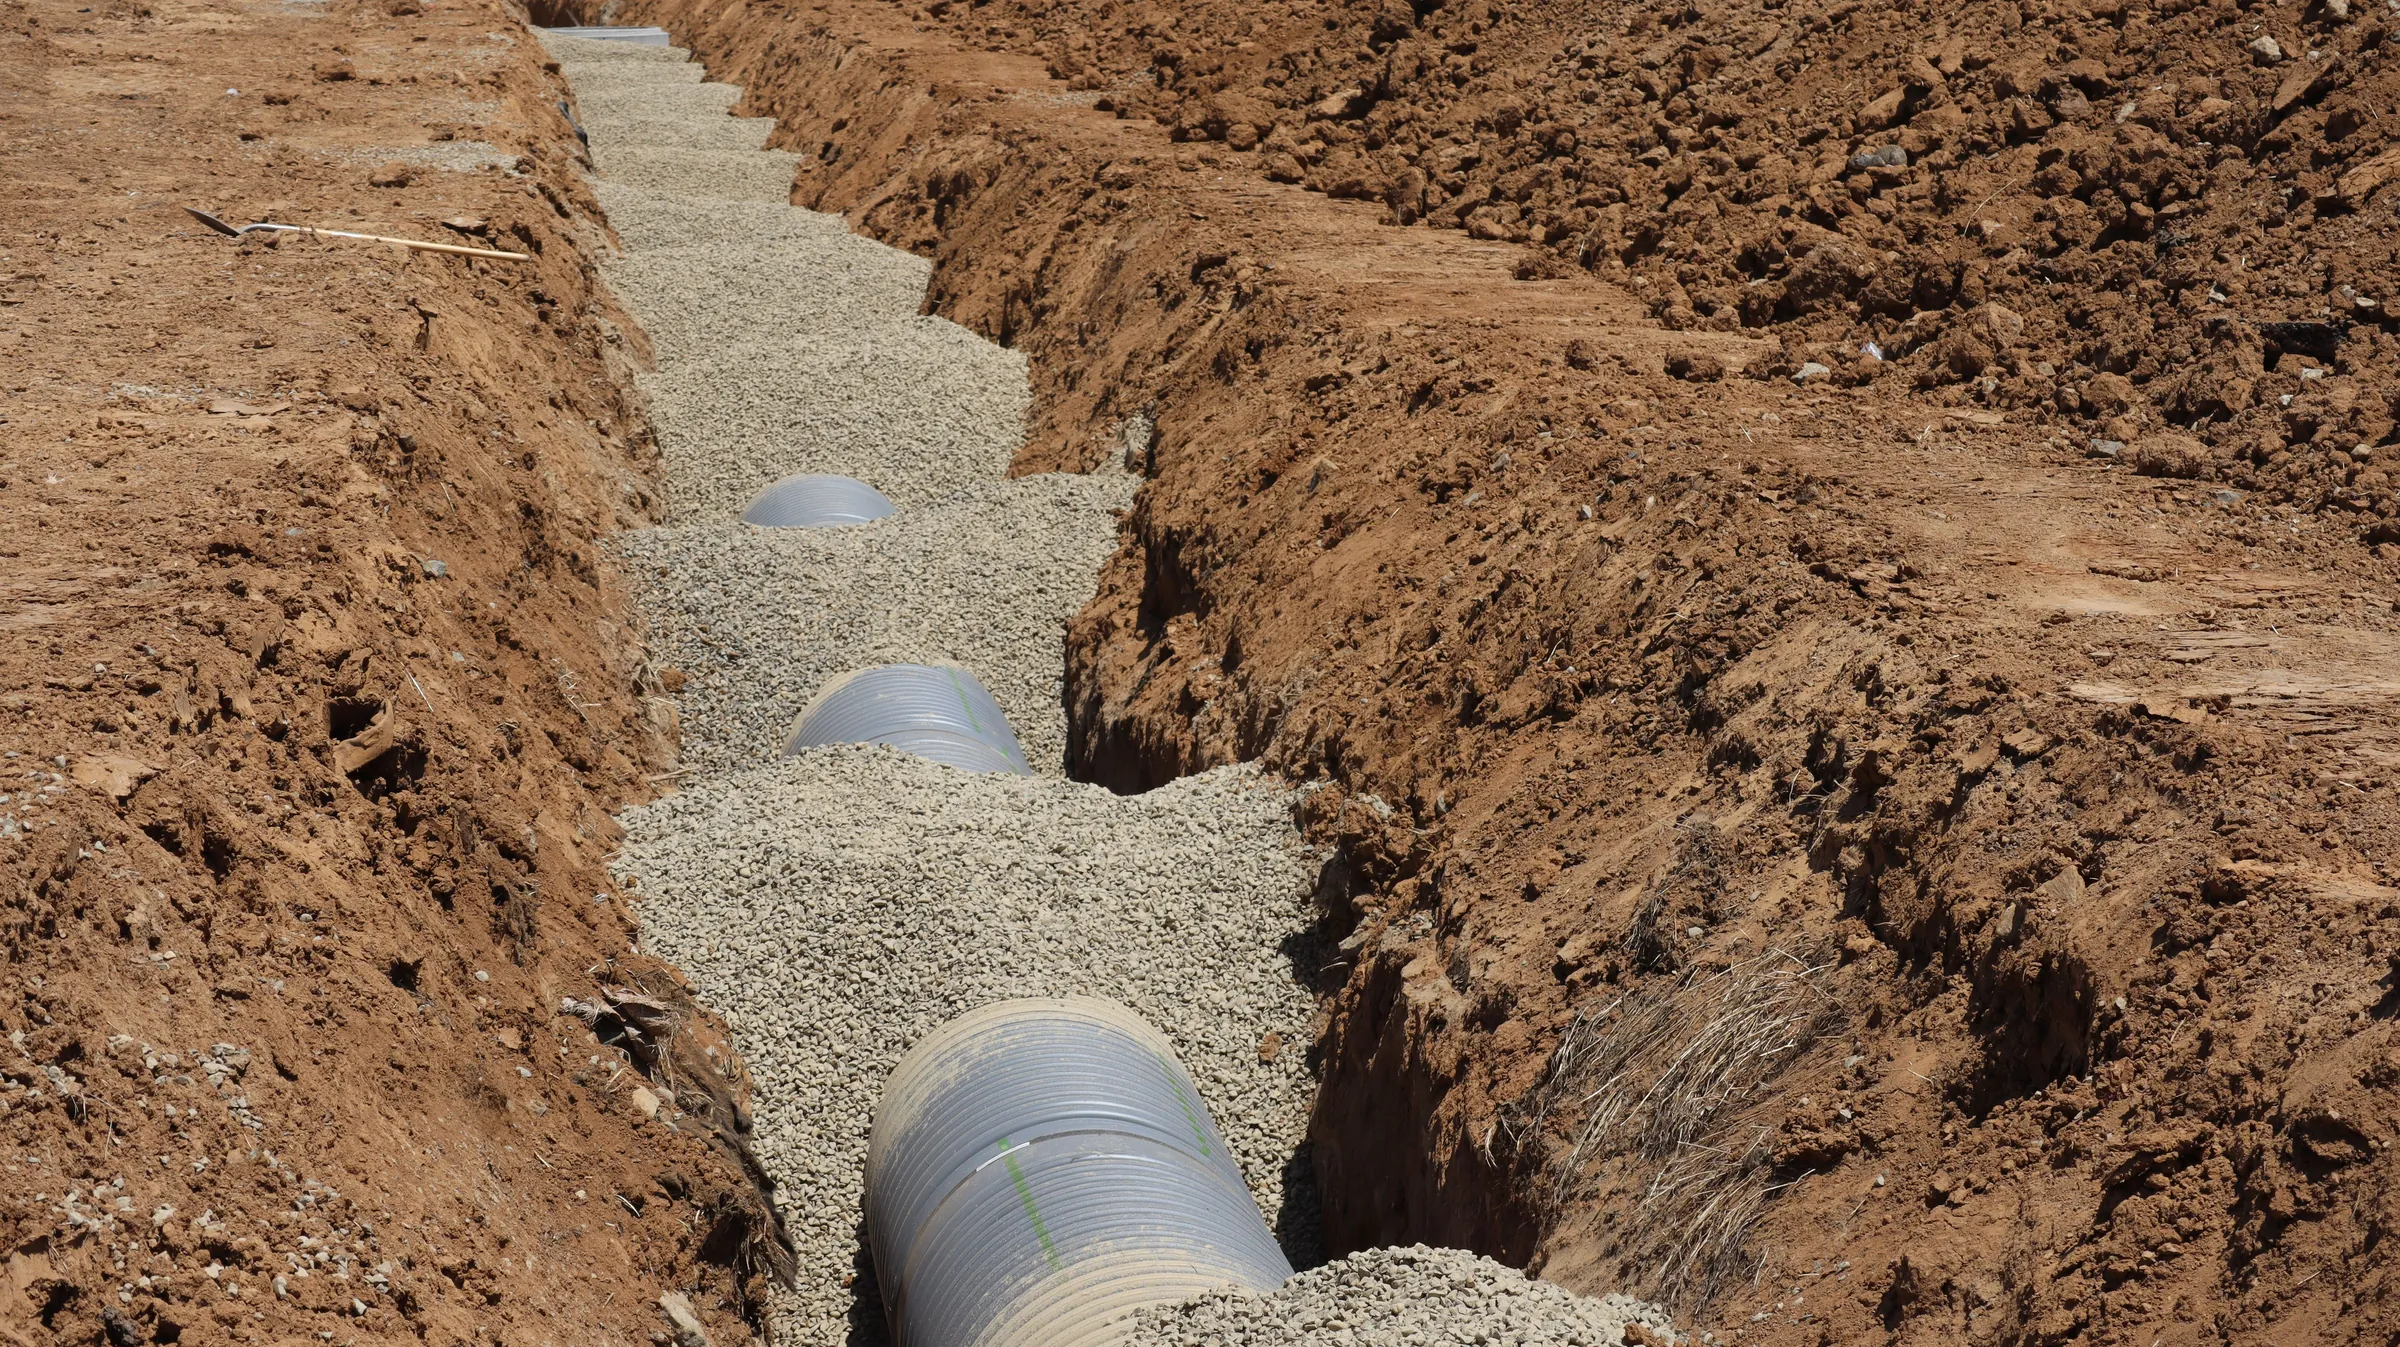
How to Improve Driveway Drainage the Right Way
September 17, 2026
Learn how to improve driveway drainage with grading, drains, and surface repairs to prevent water damage, protect curb appeal, and reduce repair costs.
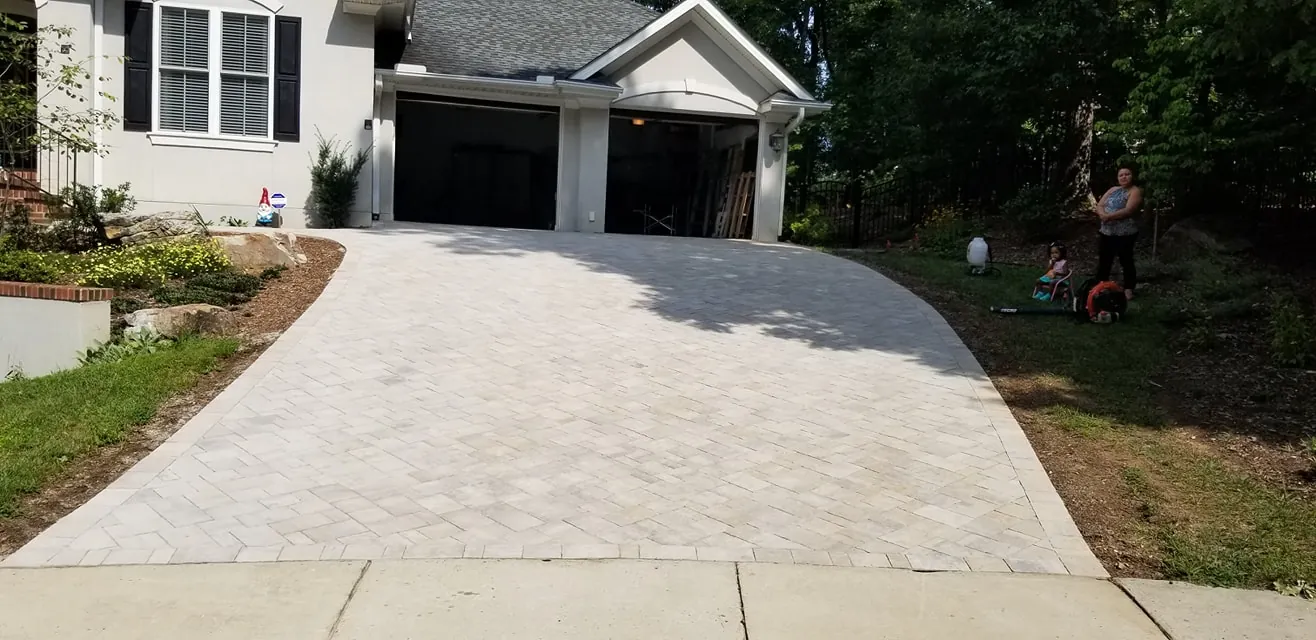
Brick Paver Cleaning and Sealing That Lasts
August 10, 2026
Brick paver cleaning and sealing protects patios, driveways, and pool decks from stains, weeds, fading, and wear across Upstate South Carolina homes.
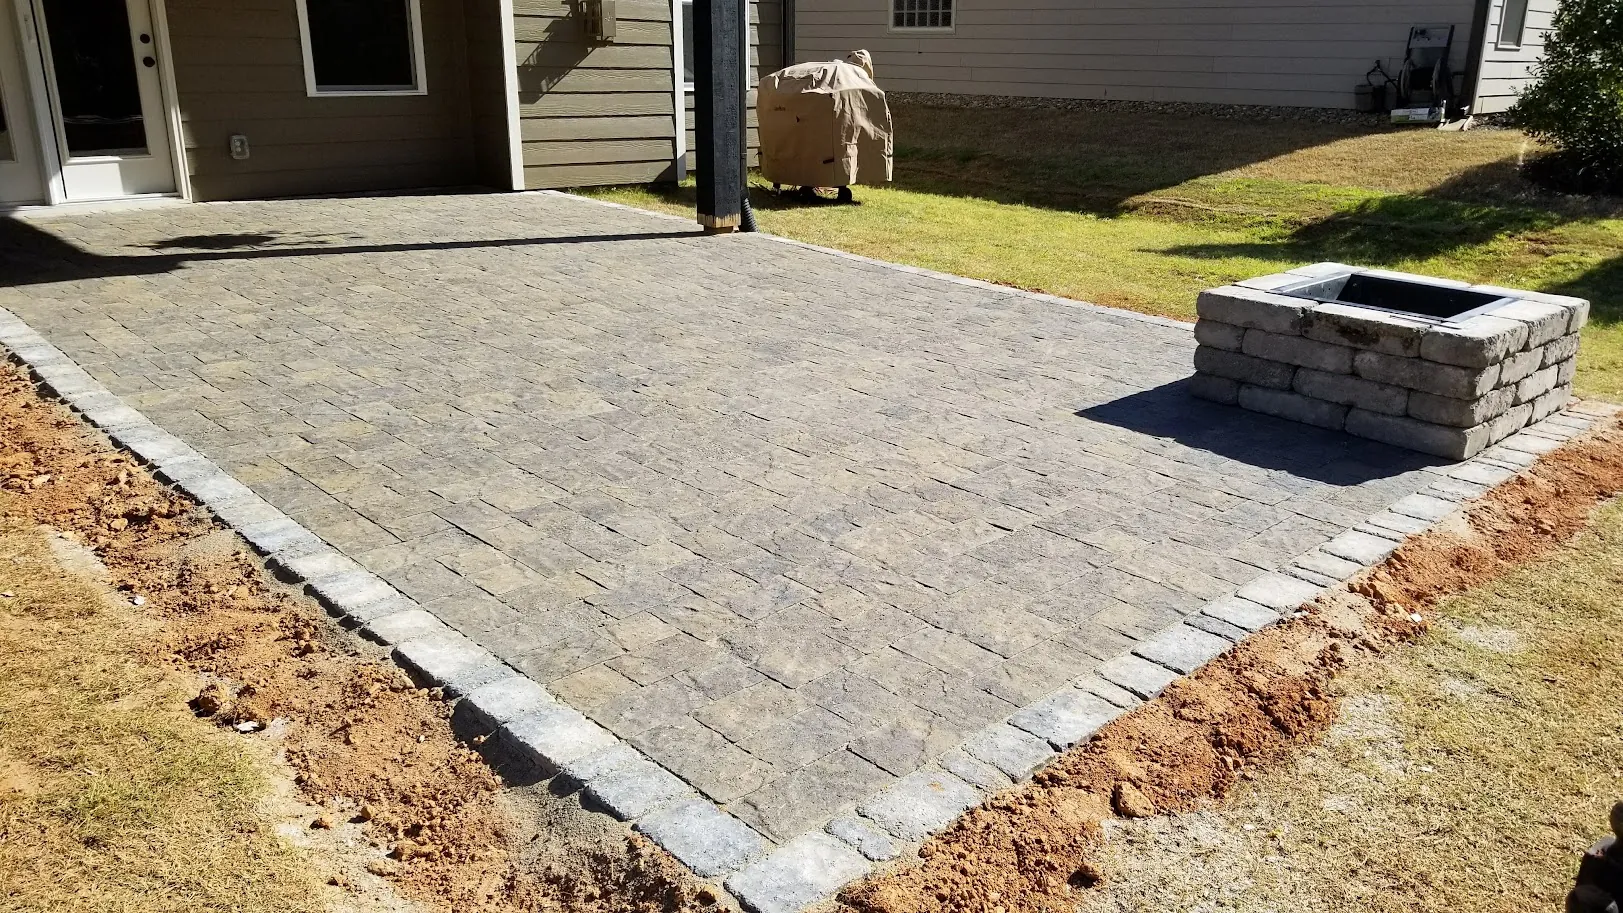
Caring for Your Paver Patio or Driveway: A Simple Seasonal Maintenance Guide
August 6, 2026
A paver patio or driveway is built to last, but a little regular care keeps it looking and performing the way it did on installation day.
Ready to start your project?
Tell us about your space and we'll follow up to schedule a consultation.